 .
. ....
.... .
.
26. Increase the electric conductivity and analysis of water
 .
. ....
.... .
.
Material:Liquemin
bottle, bottle with 2 ml mineral water ("Magnesia"), Liquemin bottle
full of sodium sulfate solution (closed by a stopper which is pierced by
2 blunted hypodermic needles), Heparin bottle
with crystals of sodium sulfate, spatula (piece of drinking straw), infusion
bottle with tap water, plastic pipette, 9-Volt battery with battery
clip, 2 light emitting diodes (LED), 2 electric
wires with crocodile clips, goggles, matches.
Experiment:
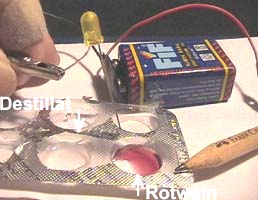
1. Connect the battery with
the clips. Close an electric circuit for a SHORT moment:
Touch
the contacts of the LED properly (differnt
length!) with the bare ends of the clips.
2. Draw a sketch of the
electric circuit (short and long contacts of the LED, battery, black (minus)
and red wires (plus).
[Mark
clearly which of the the LED contacts you have to touch with the black
(negative) wire].
3. Write 1, 2, 3, 4 on the
blisters and transfer one pipette full of tap water (1), mineral water
(2), crystals of sodium sulfate (3), tap water + crystals of sodium
sulfate (4).
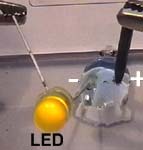
4. Close the circuit through
the substances in the blisters:
Press
the short contact of the LED to the black wire and dip the other one and
the red wire first in blister 1, then in blister 2 and after cleaning in
blister 3 and 4.
5. Write down your observations.
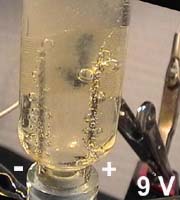
6. Turn the Liquemin bottle
full of sodium sulfate solution upwards down.
Put its
2 hypodermic needles into the Heparin bottle.
Touch
each of the needles by a bare end of the battery clip.
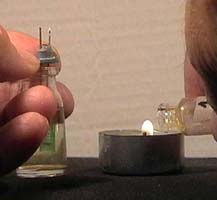
7. As soon as the liquid
in the upper bottle is displaced by gas ask your teacher to test for oxyhydrogen
gas.
Home
work: Write a record on the lesson. Some
photos of the lesson.
You
may collect the gases separately in two bottles and test for hydrogen and
oxygen.